2002 C240: Rear Sway Bar
Change
When viewing, using, and/or any other method applied to this publication you agree to the following statements. You, your next of kin, heirs or assigns release www.installuniversity.com, all other persons associated in the making, production, and participation of this publication. Rephrased in plain English: When you view this web page you, your next of kin, heirs or assigns agree not to sue any associated persons with the publication for any accident or damage in ANY form (mental or physical to your car and/or yourself) because of this publication, or your failure to heed proper safety, maintenance and/or modification procedures. You also agree that your next of kin, heirs or assigns cannot sue all persons associated in the making, production, participation, and publishing of this publication.
Perform all these installs at your own risk. Know how to use all of your shop equipment, and take necessary safety precautions when performing ANY modifications and or maintenance items to your vehicle. Seek the advice of a paid professional and do not substitute this publication for the advice of a paid professional. This product is how we accomplished our installs and is not meant to be carved in stone. InstallUniversity.com is not responsible for a mistake, misprint, or any other error found in this guide. This guide is intended as a supplement and not to be your only source of information.
Installer: rlee02135 at MBWorld.org
Symptom(s): You want better handling in the curves.
Date Repaired: N/A Mileage: N/A
Quote to fix from local MB dealer: N/A
Part information, cost, were purchased:
1. Rear sway bar and bushings - www.evosport.com
Time it took to install: 30 - 45 minutes
Complexity of Install: Easy
Tools needed for this install:
1. Ratchet
2. Short socket extension (3" will do but may not be used)
3. 16 mm socket
4. 8 mm socket
5. Ramps - Lift - Jack stands and jack
6. 8 mm wrench
7. E12 Torx inverted socket
8. 16 mm wrench
9. 17 mm socket
10. Torque wrench (100 ft-lb capable)
11. 12 mm wrench
Install Contributor
1.
Introduction
This is an easy performance upgrade to perform and will run you approximately $175 in parts.
There are a couple different brands you could go with:
Stock: 20 mm front and 13 mm rear
C32: 22 mm front and 16 mm rear
H&R: 26 mm front and 19 mm rear
Evosport: 24 mm front and 19 mm rear
Eibach: 24 mm front and 22 mm rear
I recommend going with a H&R front and a Eibach rear.
Installation Procedure
1. Place rear of car on Rhino-Ramps or other suitable device(s). You have a choice whether you want to get under the car and make it a SAFE one. Take no chances with your life (Figure 1).
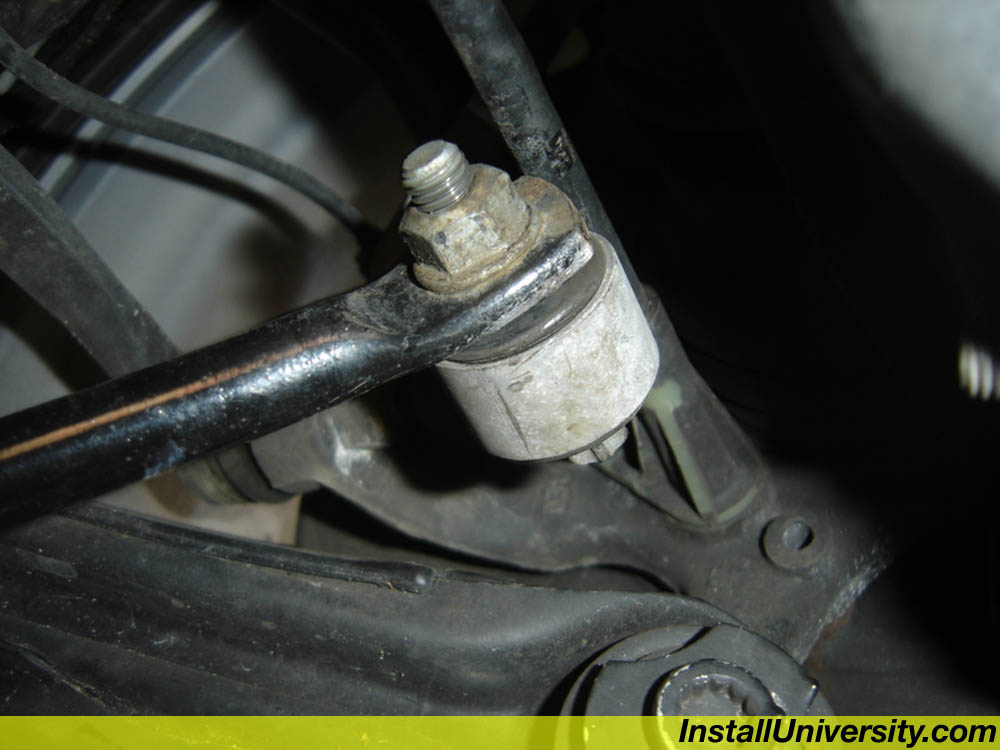
2. Remove 16mm endlink nuts on both sides while holding the inverted torx bolt on other side with a 12mm wrench (Figure 2).
3. Remove two E12 Inverted Torx bolts on each side (Figure 3).
4. Take car off Rhino-Ramps, jack up right-rear side and remove wheel.
5. Pull Swaybar out through that side (Figure 4). It will take a little while, but dont give up.
6. Put the new swaybar back through the same path. Replace the wheel and tighten the bolts in a star pattern to 100 ft-lb. Place the car back on the Rhino-Ramps (Figure 5).
7. Put swaybar in the endlinks, do not put nuts back on yet .
8. Put the two E12 Inverted Torx bolts back in on each side as shown in Figure 6.
9. Put the two 16mm endlink nuts back in while holding the inverted torx bolt with a 12mm wrench (Figure 7).
10. When installed with the larger rear sway bar, there is a lot less understeer. The car turns a lot stiffer and has less body roll.
When viewing, using, and/or any other method applied to this publication you agree to the following statements. You, your next of kin, heirs or assigns release www.installuniversity.com, all other persons associated in the making, production, and participation of this publication. Rephrased in plain English: When you view this web page you, your next of kin, heirs or assigns agree not to sue any associated persons with the publication for any accident or damage in ANY form (mental or physical to your car and/or yourself) because of this publication, or your failure to heed proper safety, maintenance and/or modification procedures. You also agree that your next of kin, heirs or assigns cannot sue all persons associated in the making, production, participation, and publishing of this publication.
Perform all these installs at your own risk. Know how to use all of your shop equipment, and take necessary safety precautions when performing ANY modifications and or maintenance items to your vehicle. Seek the advice of a paid professional and do not substitute this publication for the advice of a paid professional. This product is how we accomplished our installs and is not meant to be carved in stone. InstallUniversity.com is not responsible for a mistake, misprint, or any other error found in this guide. This guide is intended as a supplement and not to be your only source of information.
Installer: rlee02135 at MBWorld.org
Symptom(s): You want better handling in the curves.
Date Repaired: N/A Mileage: N/A
Quote to fix from local MB dealer: N/A
Part information, cost, were purchased:
1. Rear sway bar and bushings - www.evosport.com
Time it took to install: 30 - 45 minutes
Complexity of Install: Easy
Tools needed for this install:
1. Ratchet
2. Short socket extension (3" will do but may not be used)
3. 16 mm socket
4. 8 mm socket
5. Ramps - Lift - Jack stands and jack
6. 8 mm wrench
7. E12 Torx inverted socket
8. 16 mm wrench
9. 17 mm socket
10. Torque wrench (100 ft-lb capable)
11. 12 mm wrench
Install Contributor
1.
Introduction
This is an easy performance upgrade to perform and will run you approximately $175 in parts.
There are a couple different brands you could go with:
Stock: 20 mm front and 13 mm rear
C32: 22 mm front and 16 mm rear
H&R: 26 mm front and 19 mm rear
Evosport: 24 mm front and 19 mm rear
Eibach: 24 mm front and 22 mm rear
I recommend going with a H&R front and a Eibach rear.
Installation Procedure
1. Place rear of car on Rhino-Ramps or other suitable device(s). You have a choice whether you want to get under the car and make it a SAFE one. Take no chances with your life (Figure 1).
2. Remove 16mm endlink nuts on both sides while holding the inverted torx bolt on other side with a 12mm wrench (Figure 2).
3. Remove two E12 Inverted Torx bolts on each side (Figure 3).
4. Take car off Rhino-Ramps, jack up right-rear side and remove wheel.
5. Pull Swaybar out through that side (Figure 4). It will take a little while, but dont give up.
6. Put the new swaybar back through the same path. Replace the wheel and tighten the bolts in a star pattern to 100 ft-lb. Place the car back on the Rhino-Ramps (Figure 5).
7. Put swaybar in the endlinks, do not put nuts back on yet .
8. Put the two E12 Inverted Torx bolts back in on each side as shown in Figure 6.
9. Put the two 16mm endlink nuts back in while holding the inverted torx bolt with a 12mm wrench (Figure 7).
10. When installed with the larger rear sway bar, there is a lot less understeer. The car turns a lot stiffer and has less body roll.
Click on the photographs to enlarge them.
Figure 1
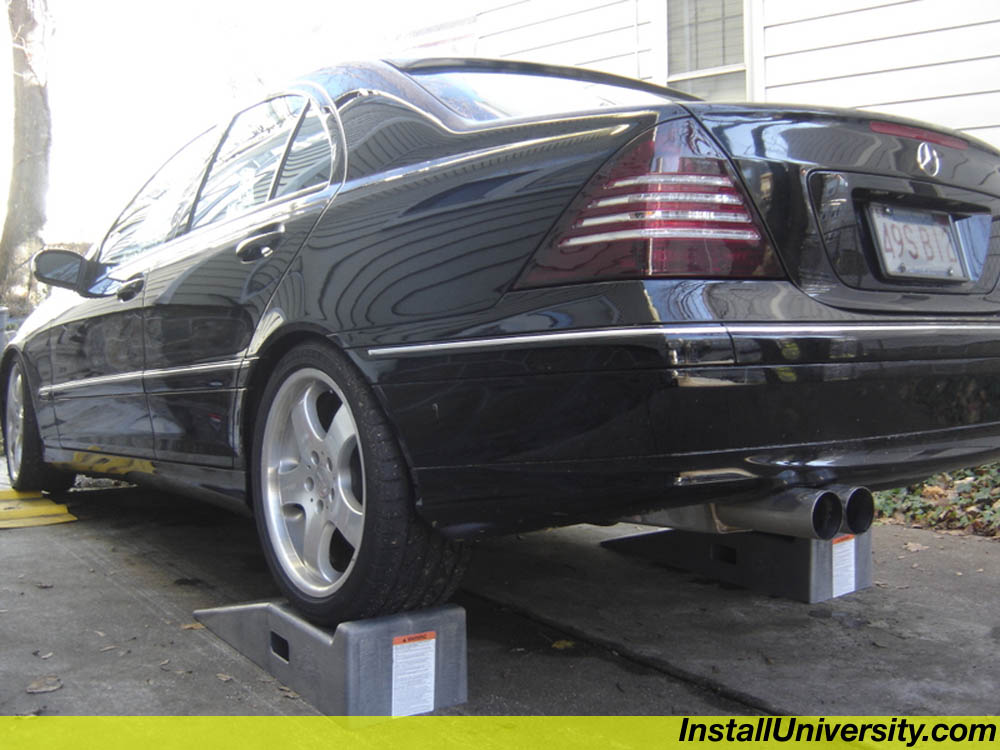
Figure 2

Figure 3
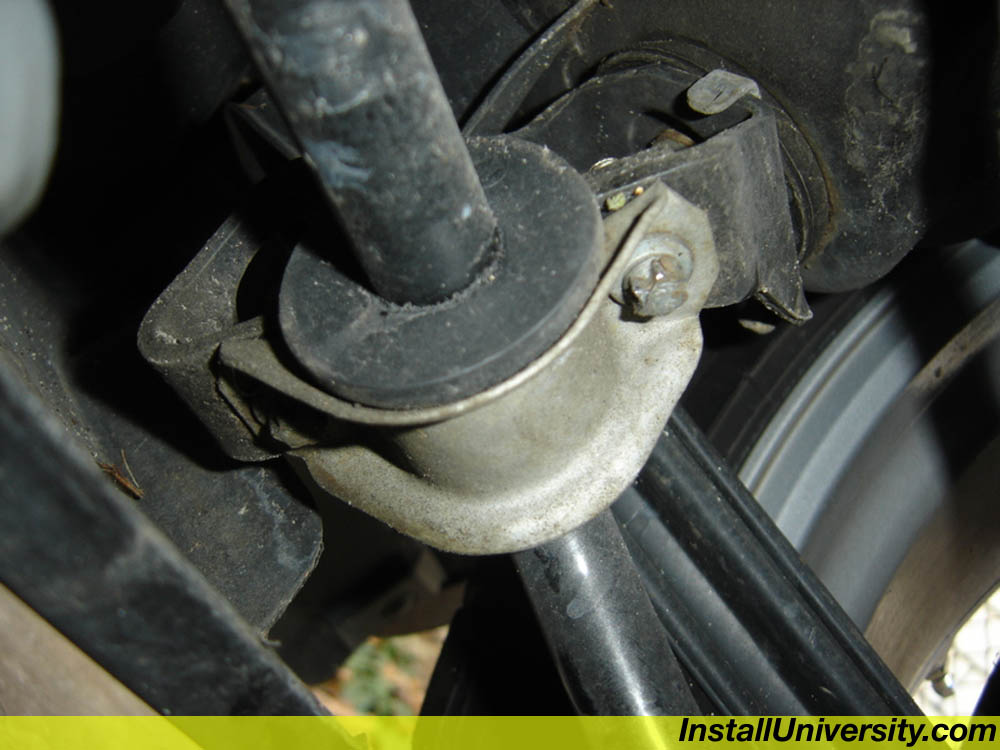
Figure 4
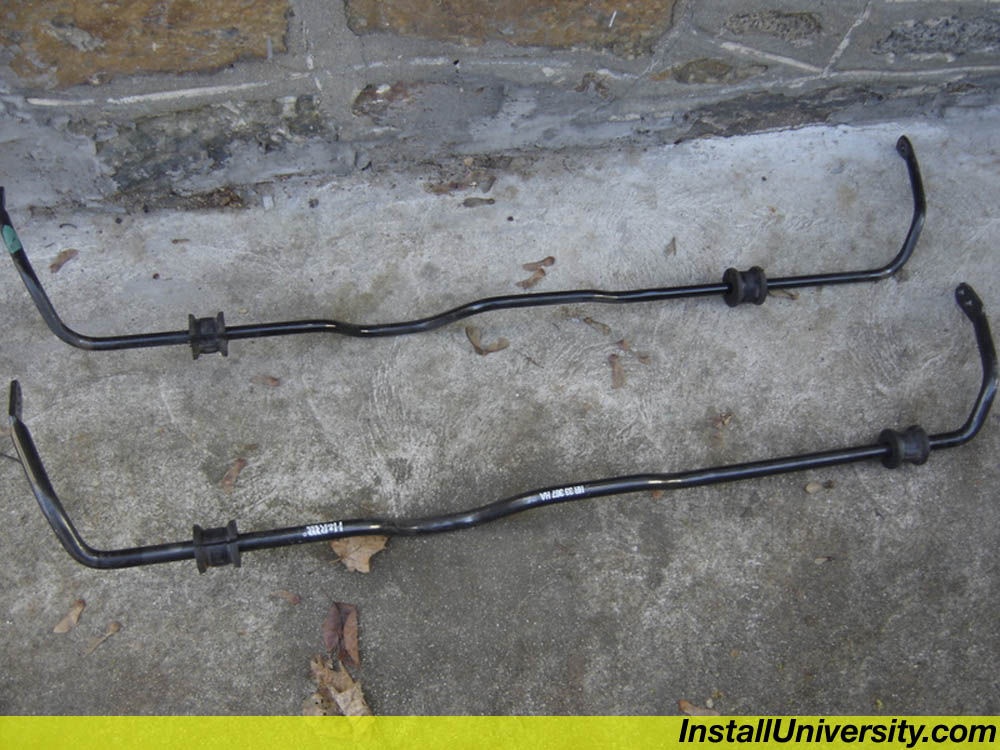
Figure 5
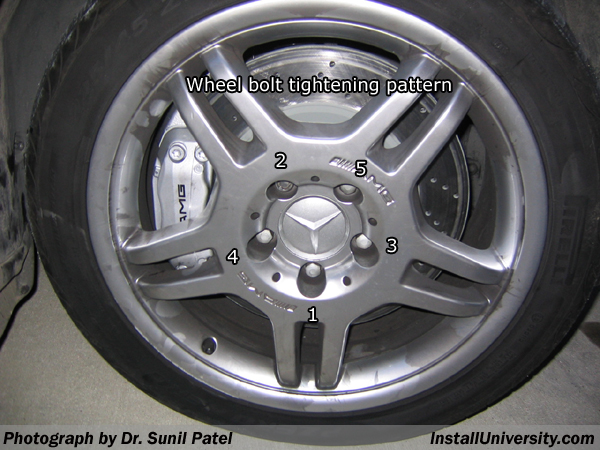
Figure 6

Figure 7